By Justin Doughty
One of the new features of Revit 2019 was the new set of Autodesk Physical Assets for material appearances. I thought I put these to the test along with testing out any improvements to the cloud rendering service.
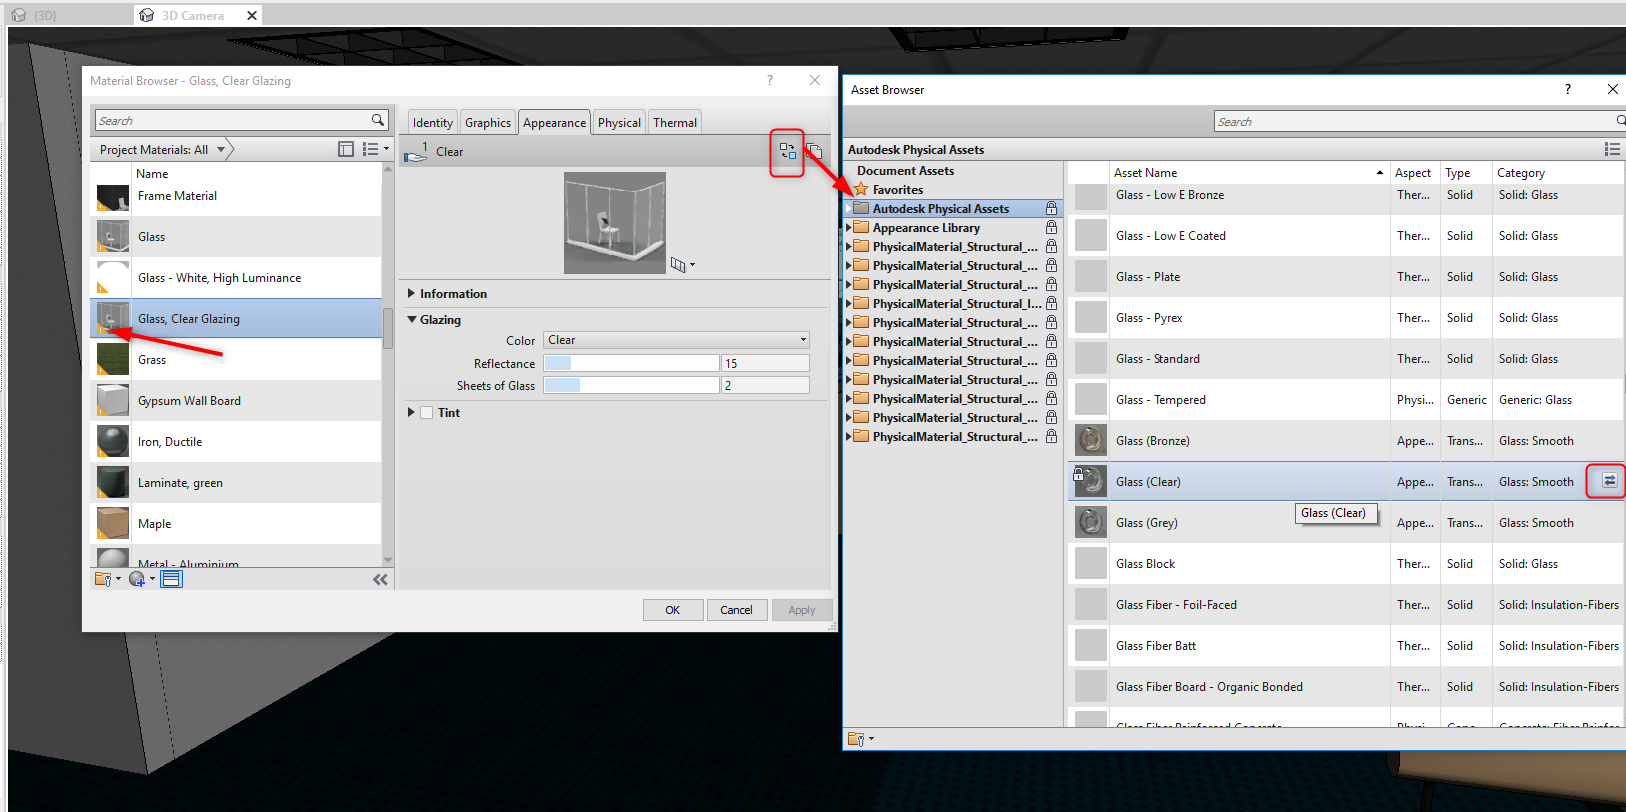
To get these new material assets, you will be prompted with a yellow exclamation mark in the bottom of the material preview. Simply pick replace asset, and then chose the new item from the list, then click the icon to replace:
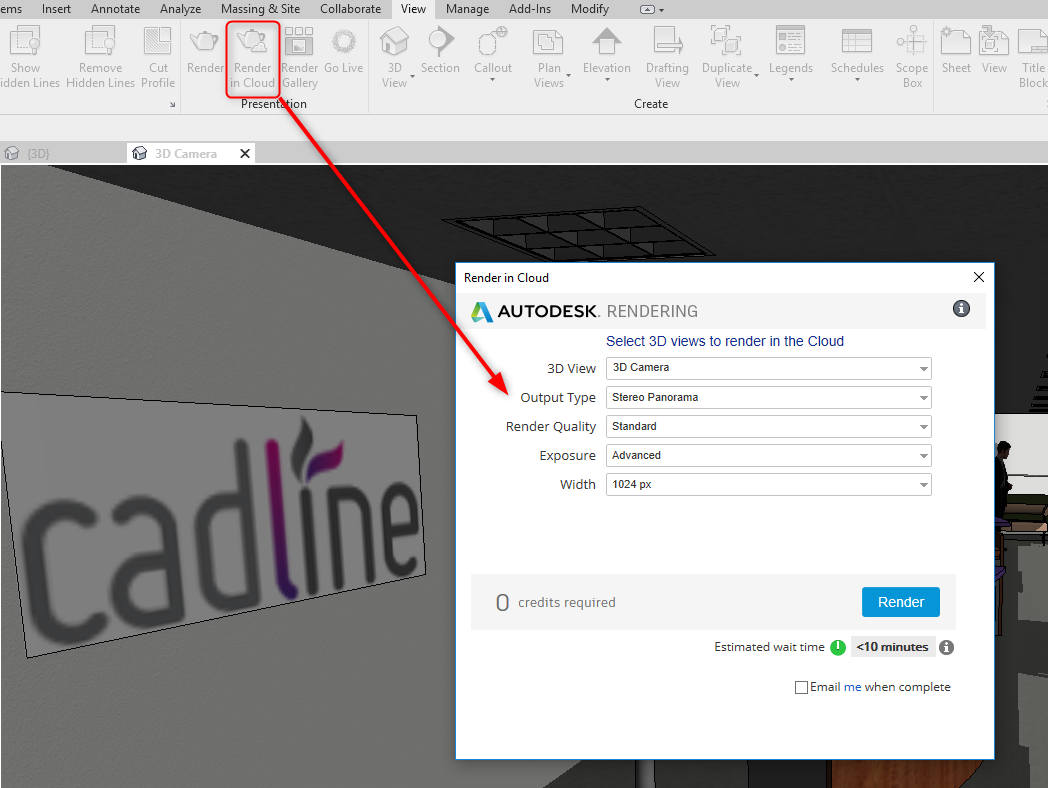
Cloud Rendering is as simple as always, from the view tab, Click Render in Cloud and pick your settings. As with any render, it’s best to pick quicker low settings as a test first, before going for a full render.
Once done, go to your cloud rendering online storage to view the results:
https://rendering-beta.360.autodesk.com/myrenderings
The combination of the new Revit 2019 materials and the cloud rendering service, gives a far more realistic feel to render. The patterns and the shadows are more complex, the reflections from the glass and metal are improved.
The transfer of all of the Revit elements, seems more stable, a good example of this are decals.
You can see the results of my example using the following link:
Or simply scan the QR code:

Visit Cadline Community for more blogs.