By Clint Brown

Autodesk Sketchbook is now available for free (see the FAQ here). In this blog post, I am going to show a useful workflow for creating marketing images of your products.
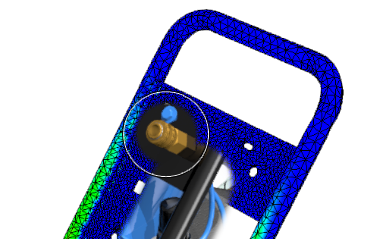
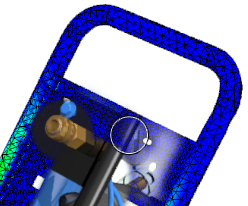
To create an image showing some FEA results on top of a rendered image, you are going to need to combine 2 images. Below is an example of the images used (I’ve attached them to this blog post so that you can have a go on your PC). For this to work, the images used, need to be in the same orientation, so that everything lines up.
To achieve this, we are going to use 3 functions; “Layers”, the “Hard Eraser” and the “Soft Eraser”. Check out this article for more on these tools.

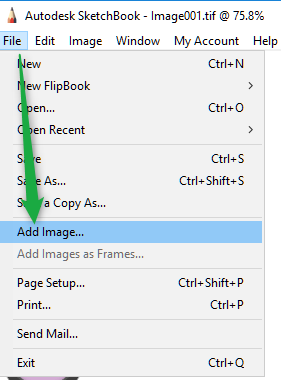
The first step is to import the images. To do this, simple click on “File” and then “Add Image…”
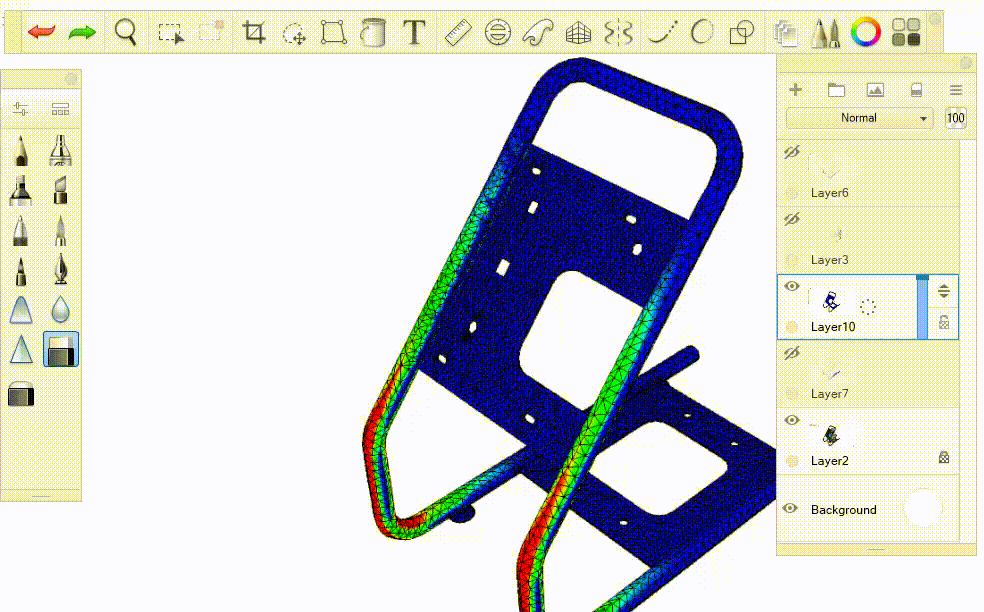
Each time an image is added, it is automatically placed onto a unique layer. To activate the Layers panel, click on the “Layers” icon on the ribbon.
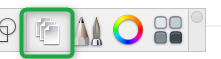
The layer control will be displayed on the right hand side of your window.

Layers can be activated, turned on or off as well as re-ordered from this panel.
To show the Eraser tools mentioned above, click on the “Brush Pallette” icon.
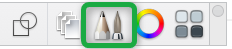
The “Brush Pallette” is shown on the left, as seen above.

The “Hard Eraser” removes 100% of the current layer from within the preview circle, as shown below)
The “Soft Eraser” removes less of the current layer and introduces a transparency, which starts to reveal the image below.
The animated GIF below shows the Eraser tools in action.
Visit Cadline Community for more blogs.