By Garry Stockton
Did you know that you can Tag elements in 3D views?
I have attached an easy to use method that any user can do. Think about how beneficial it could be to see your model in 3D with tags.
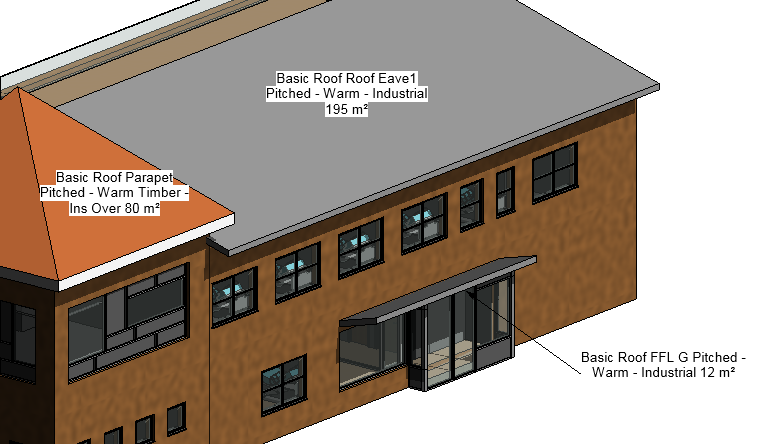
Notice in the image below I have added a Roof Tag as an example.
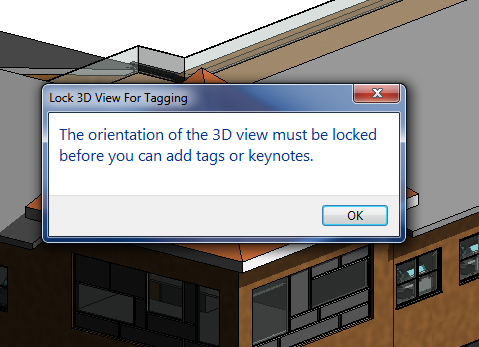
The process of tagging in a 3D view is exactly the same as tagging elements in a 2D view except the view has to be locked. If your 3D view is not locked, Revit will give the following message.
So, how do you lock a 3D view? Open the 3D view you would like to annotate, Orient and Zoom to the view you intend to tag (Once locked you cannot move the 3D move in any way). Lock the view on the view control bar at the bottom of your screen:
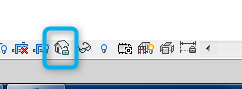
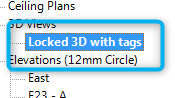
Once selected “Save Orientation and Lock View”. Give the view orientation a name that makes sense in your project browser. This is important because you can always restore the orientation when required.
Now that your view is locked, you can start tagging. Simply click over to the Annotate tab and use the Tags as normal, they come with leaders so untick if not required.
Note: The following tag types are not allowed in a 3D view:
- Area and room tags
- Space tags
Also, by default, the leader for tags in a 3D view is set to Free End on the Options Bar. This setting is preferred for elements that may require adjustments to 3D tags, such as walls etc.