By Justin Doughty
This is more of an exploration of some of my ideas and testing, than an exact “how to”, but I thought I would share what is possible with Revit Live and the AEC Collection.
With the latest version of Revit Live there have been many updates, which streamline the workflow and make things much quicker.
However the terrain (which was the same hills for all files) was removed for speed. So I thought I would explore an alternative.
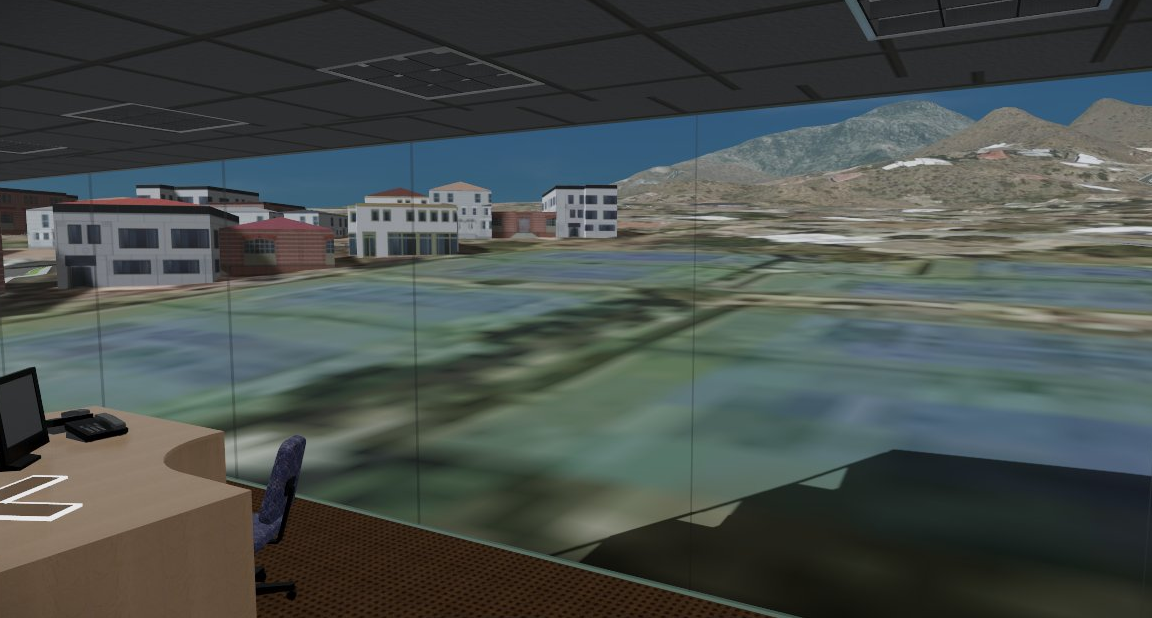
3ds Max Interactive lets you open Revit Live projects for editing and using this I was able to use a FBX file exported from InfraWorks to make my new terrain. Not only do you get the surface data and imagery, but also any other imported models from InfraWorks.
Pushing back to Revit Live, this then lets you publish a single file. You can send this file to anyone and they can have the same experience, walking around the file, without any software needed. Putting it a different way, you can send someone a game of your project.
To roughly summarise this workflow:
-Create a FBX file from a product in the AEC Collection.
-Create a Revit Live model from your Revit Project.
-Use 3ds Max Interactive to open the Revit Live model and combine with the FBX.
-Push back out to Live for viewing.
This led me to thinking about other products in the AEC Collection. With thanks to Cadline’s Matt Lees and the National Trust, I was able to use drone photography in Recap Photo to create a 3D model.
Using a combination of export settings from Recap Photo and the same workflow, this gave a really impressive result, combining real world and design data. This highlights how useful the AEC Collection is having access to all of the products and this workflow.
Visit Cadline Community for more blogs.