By John Flanagan
Creating 3D Views
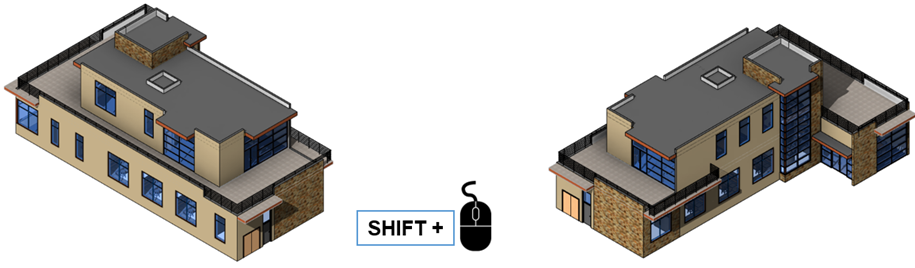
 Click on the Default 3D Views icon to open an orthographic view of your model. To orbit your model, hold SHIFT + MOUSE WHEEL. The pivot of the spin will be the selected element.
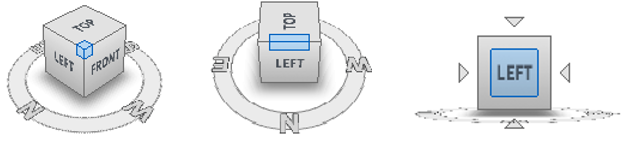
VIEW CUBE: Click on the corners or faces of the View Cube to adjust the view. When you hover over the corner, edge or face of the view cube you will see the options to click or drag. You can also drag on the belt around the view cube to orbit your model. When you hover over the belt it will turn blue. A pivot marker appears on the model when you orbit your Model using this method.
SECTION BOX: Activate in view properties pallet, use control arrows to adjust the section box.
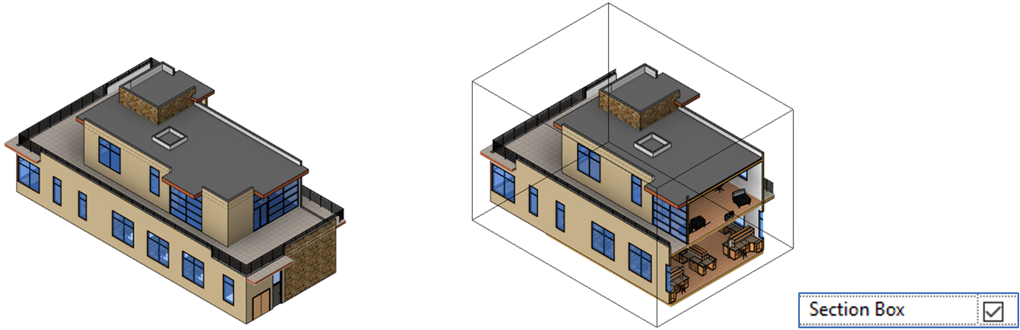
Note: To generate 3D Floor Plan views, 3D Section views and 3D Call Out Views, right click on the view cube and in the drop down menu go to Orient to View and select the view you want. This is a quicker way to adjust the section box to a precise location.
In my next blog, I will look at creating perspective views with the Revit camera tool.
Visit Cadline Community for more blogs.