With the Revit 2019.1 update came the ability to link to Civil 3D Topography using BIM 360. Having access to the AEC Collection lets you take this one step further, unlocking a great workflow between products, to let the user create a real world Toposurface from nothing!
I have highlighted the major points to this process below, as some users may want to add or tweak the data to their needs along the way.
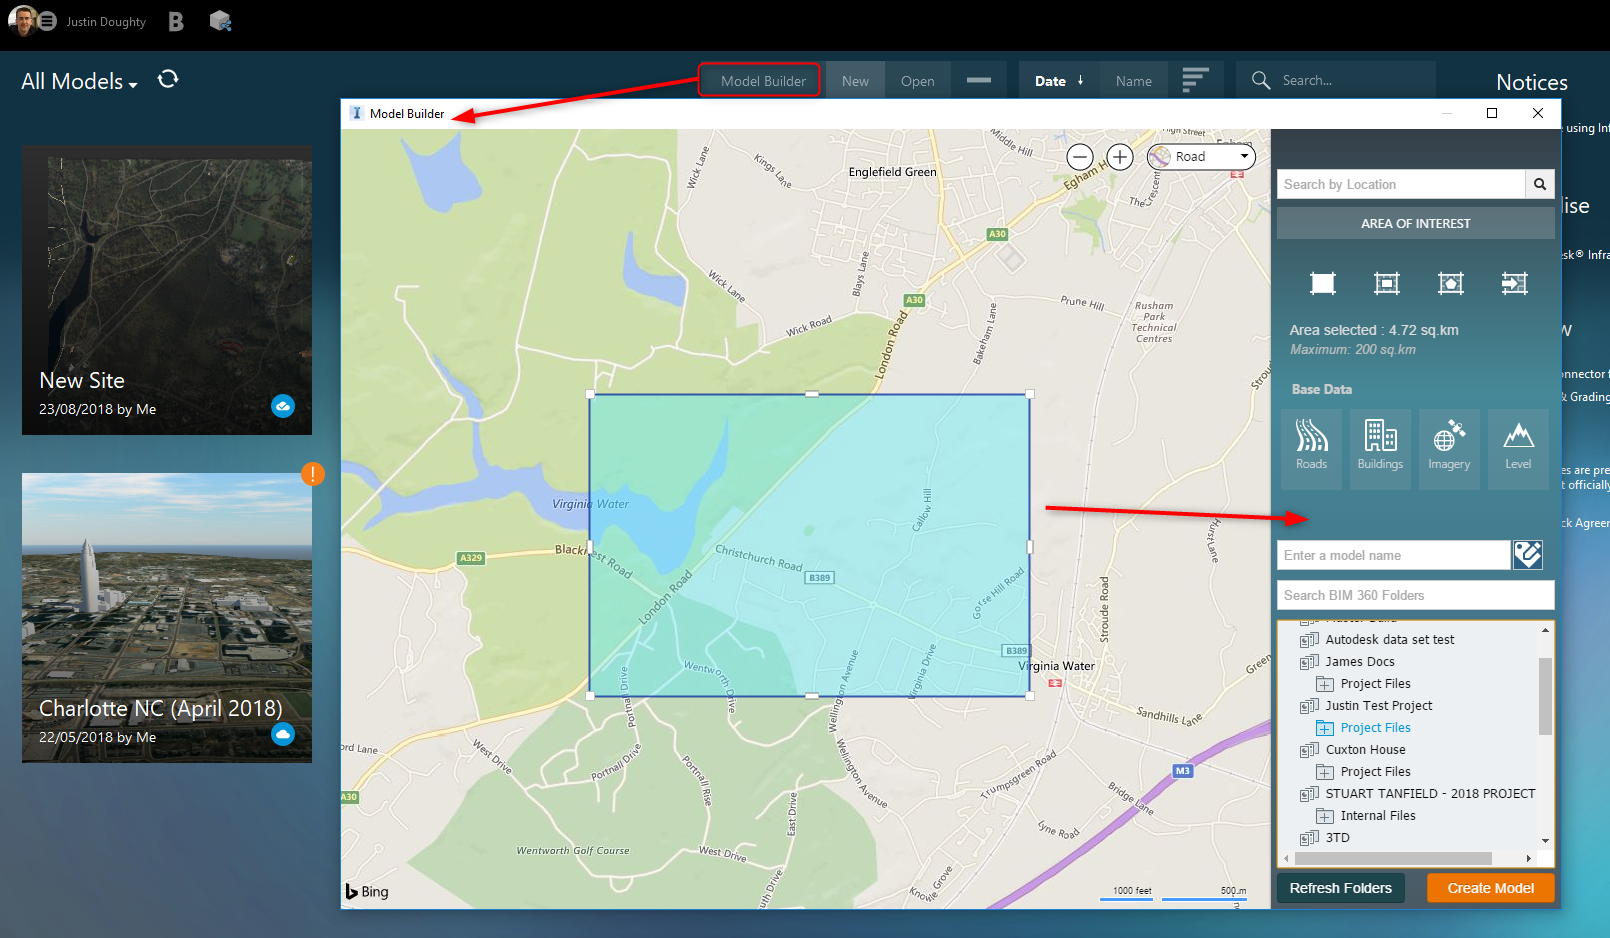
Using InfraWorks a model can be started from scratch, using the Model Builder to specify location and area:
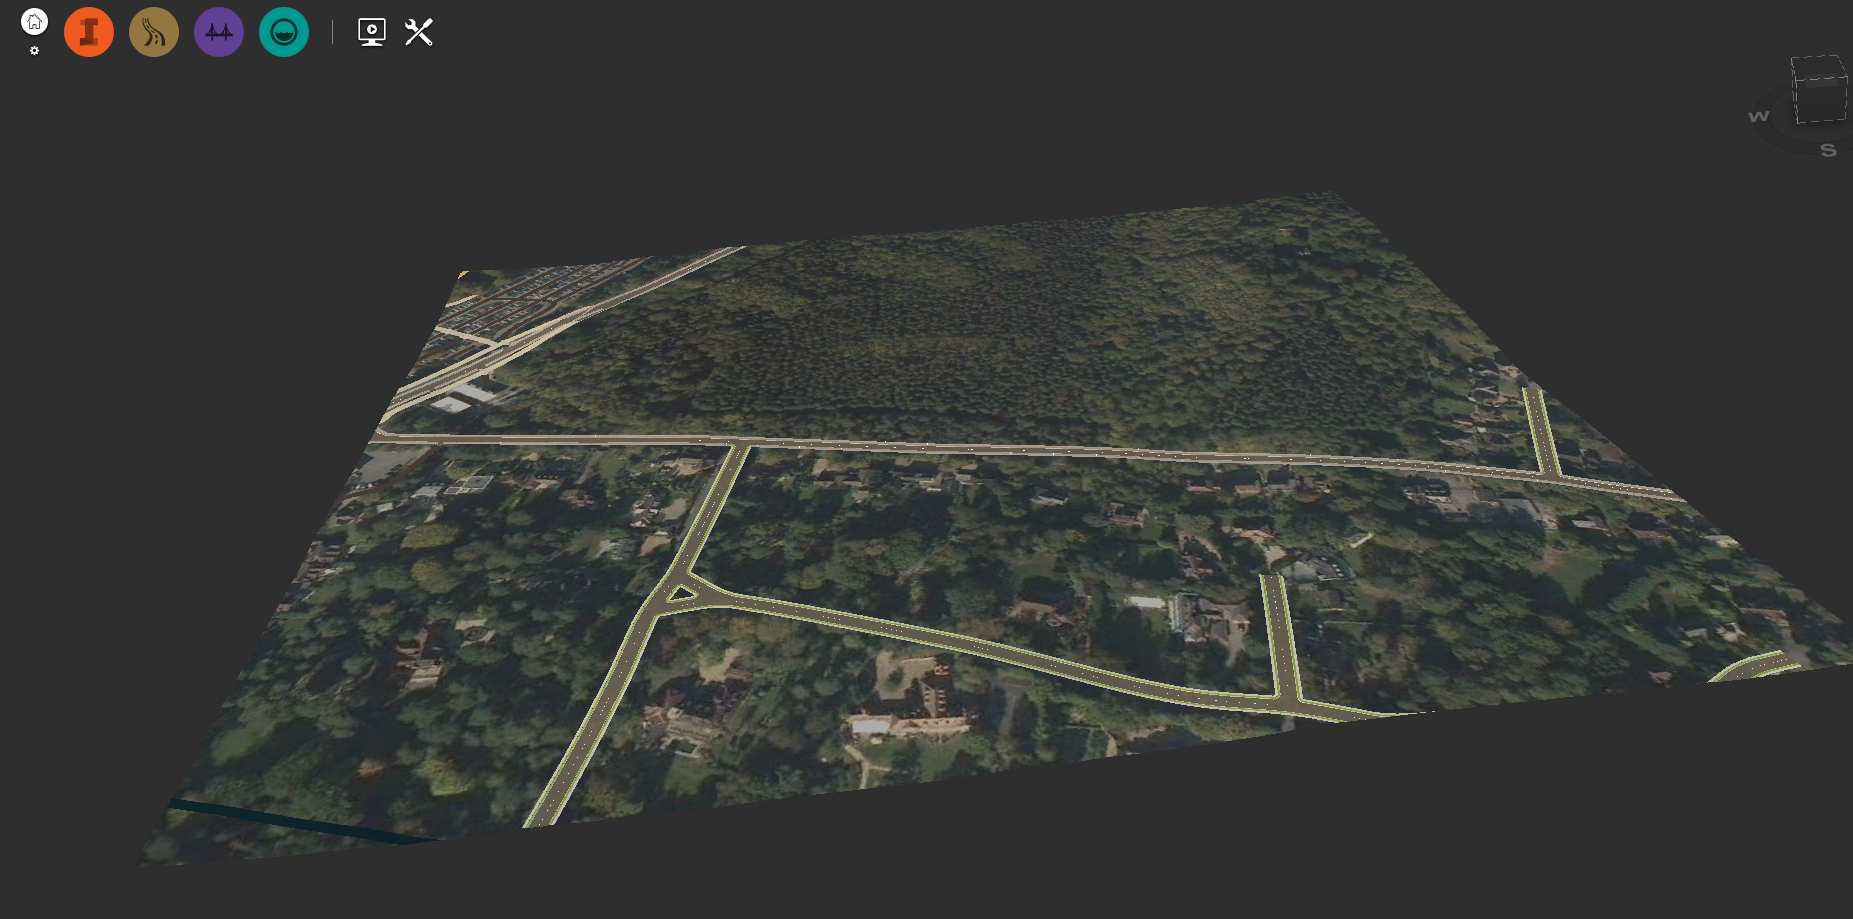
This will give you the InfraWorks model:
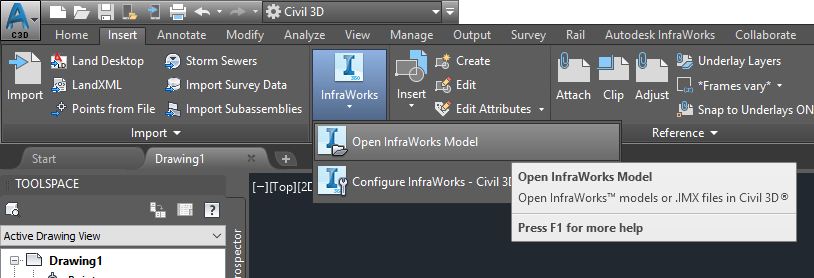
In Civil 3D you can open that InfraWorks File and specify what to bring in:
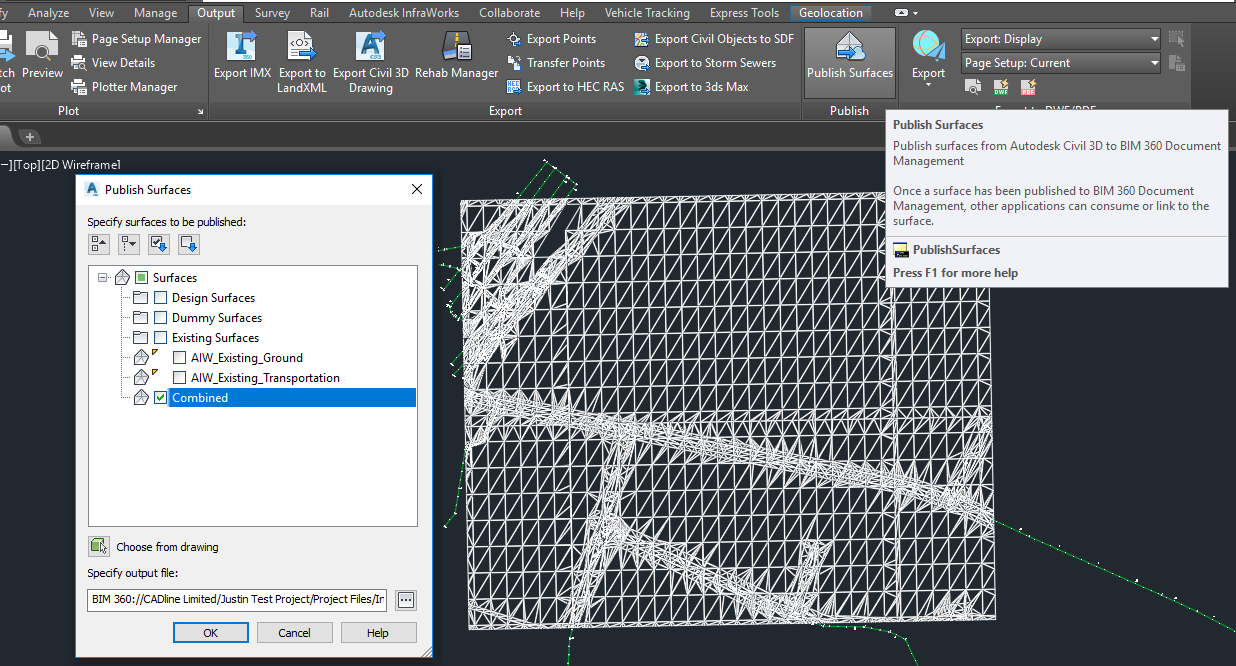
You can then use the new feature to Civil 3D 2019.1 and publish your Surface to a BIM 360 Folder:
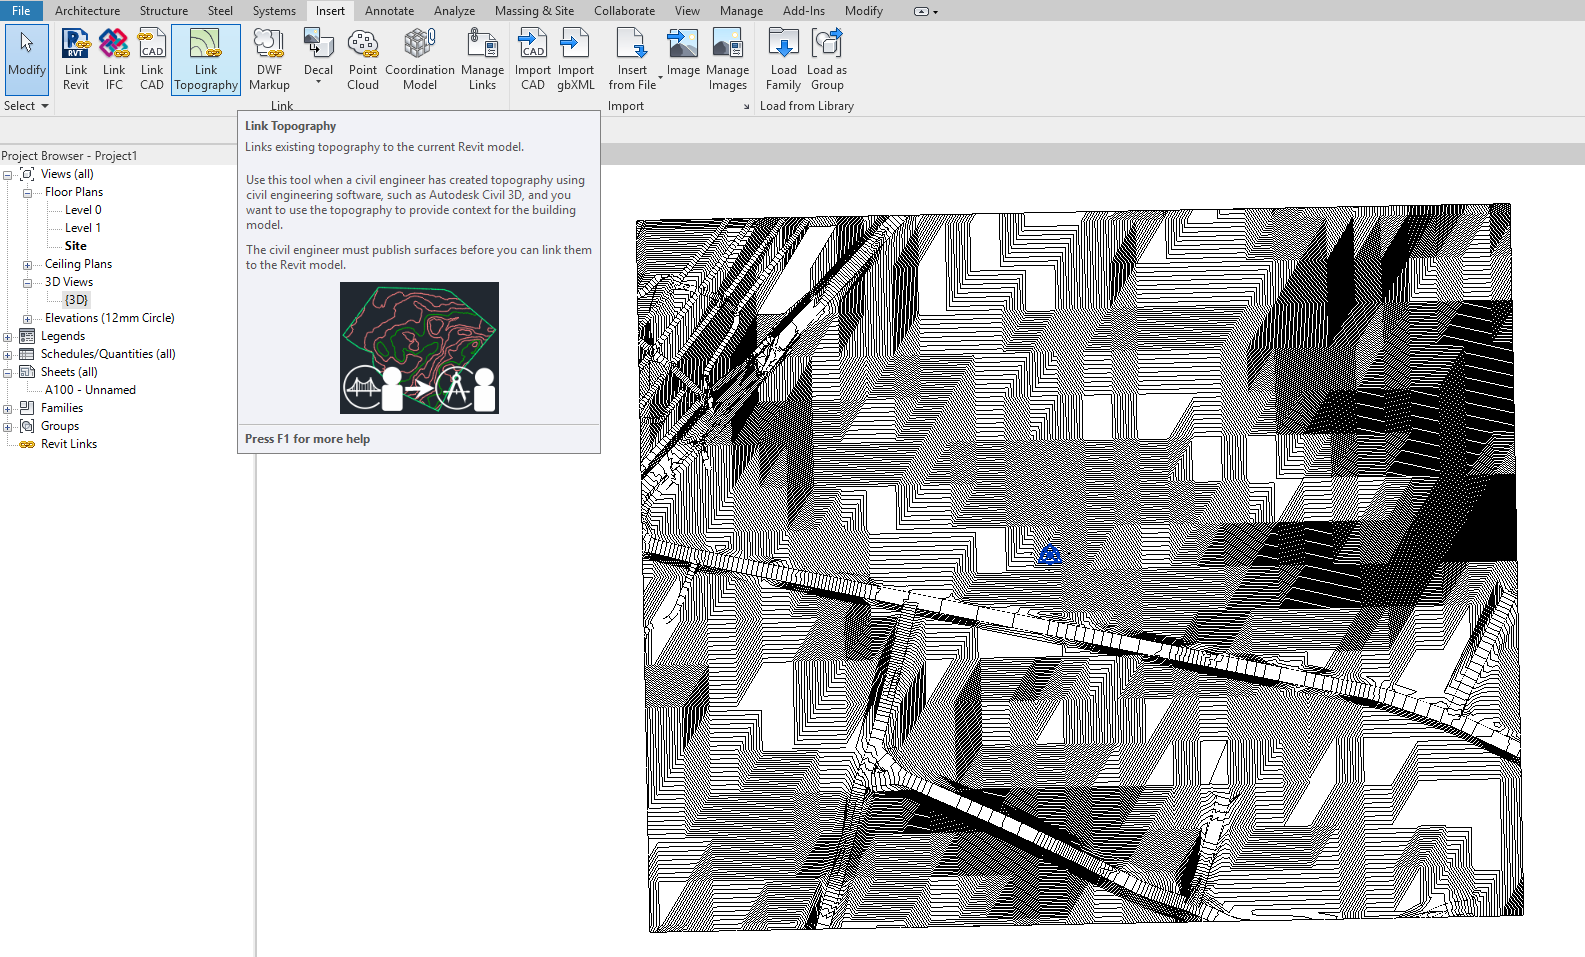
Finally in Revit 2019.1, start a new file and Link Topography. Point this to the Civil 3D surface file in BIM 360:
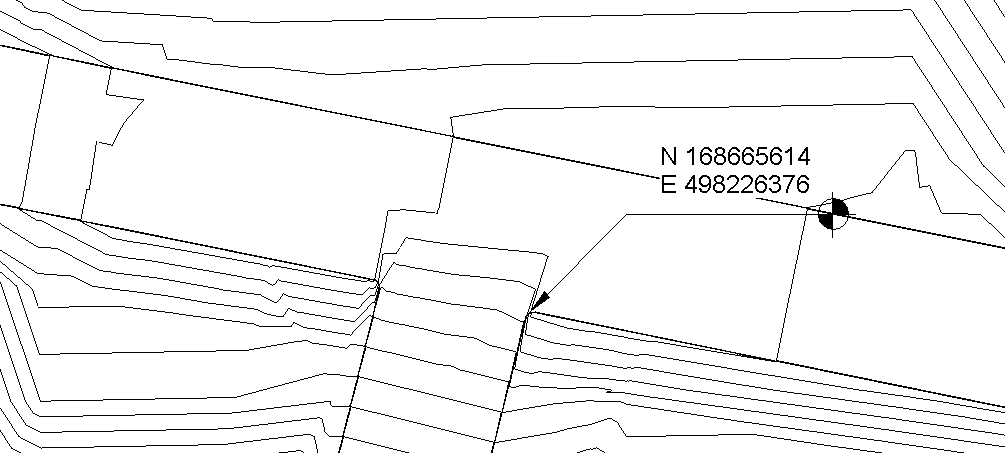
As with any other linked file, you can acquire coordinates from this, so can setup a location based from this data. Also the Toposurface behaves in the same way, allowing you to add Building Pads and Subregions. As it’s a link, being able to reload any updates is simple.
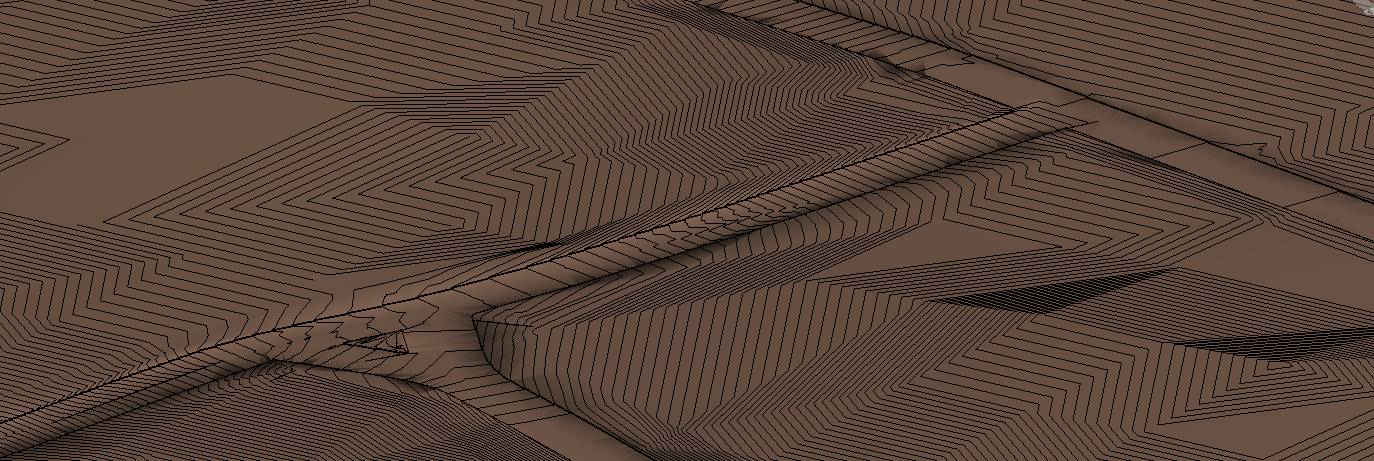
Playing with the contour settings, we can start to see more surface definition, even kerbs:
This process in no way replaces real site survey information. However it is a great way to start, when there is little or no information available.
Visit Cadline Community for more blogs.